Configuration
Now that you've installed BitPay for LatePoint, the next step is to configure it and begin accepting crypto payments for your bookings.
Heads Up!
In order to enjoy the full range of BitPay for LatePoint features offered by the license you've purchased, ensure that you register your purchase code, preferably before beginning the configuration process. You may register your purchase code by navigating to TechXela > Licenses from your LatePoint dashboard.
Quick Setup
If you're a visual learner, watch the following video to learn how to quickly get started with BitPay for LatePoint, or keep reading to learn more about the available settings:
BitPay Settings
Navigate to Settings > Payments from your LatePoint dashboard, then scroll to the BitPay section:
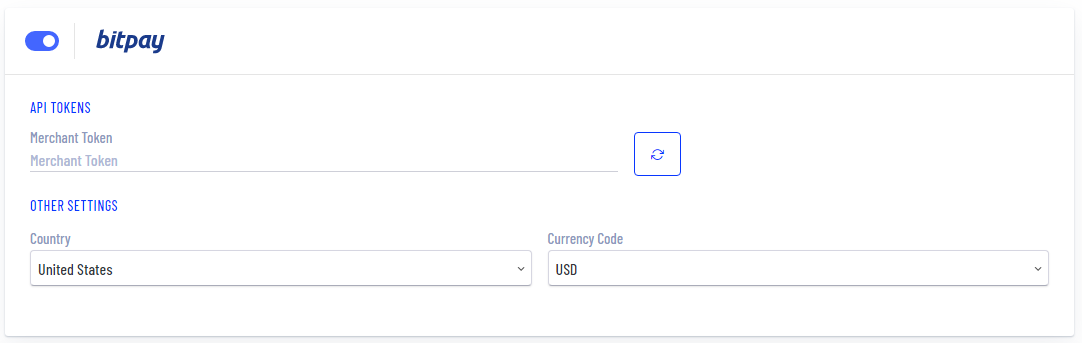
- Merchant Token: The BitPay API Token for the
merchantfacade. Explained here - Country (Optional): The country in which your BitPay merchant account is based.
- Currency Code (Optional): The main/settlement currency of your BitPay merchant account.
Merchant Token
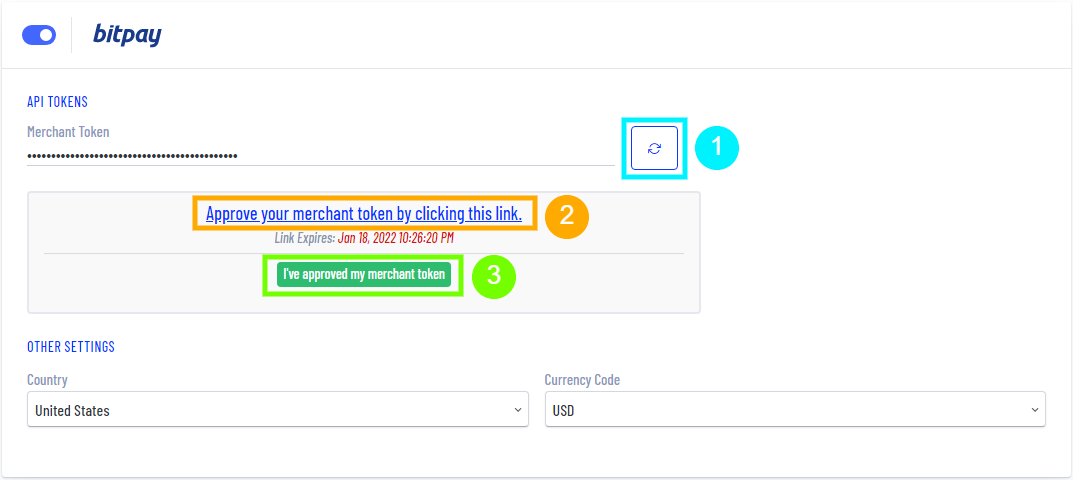
Generate a new Merchant Token by clicking the Generate merchant token button:

After successful generation, approve your Merchant Token by clicking the link provided. The link will take you to your BitPay merchant dashboard to confirm approval.
After approving, you may dismiss the approval message/link by clicking I've approved my merchant token. You are now ready to start accepting crypto payments with BitPay for LatePoint!
Note that the token approval link will expire 24 hours after the time of generation.
Learn more about BitPay API Tokens here